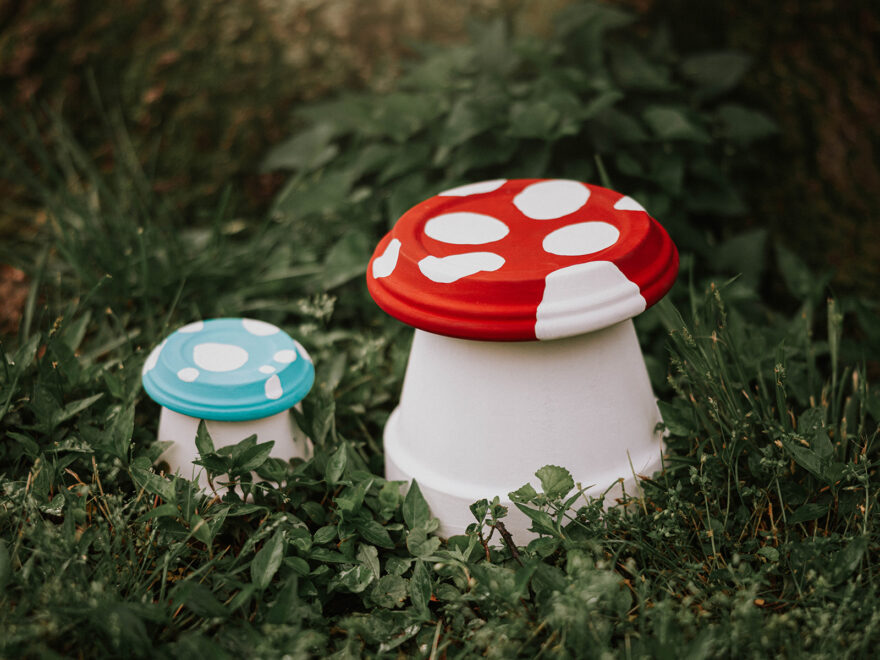
DIY Mushroom Terracotta Pots
Photos by Jamie Plain
There’s something truly magical about mushrooms — no, not the kind you sauté for dinner, but the whimsical, fairy-garden type that spark the imagination! This summer, bring a bit of that enchantment to your backyard, porch, or playroom with an easy, affordable, and absolutely adorable craft: Mushroom Terracotta Pots! With just a few materials and a splash of paint, kids can transform basic garden pots into a magical mushroom wonderland. Whether you’re filling them with flowers, succulents, or just letting them be the centerpiece of your outdoor play space, this project is sure to delight kids and parents alike.
Supply List:
›› Terracotta pots (medium or large work great for the stem)
›› Terracotta saucers (one to match each pot, for the mushroom cap)
›› Acrylic paint (white for polka dots, red is classic for the cap, but feel free to get creative!)
›› Paintbrushes or sponges
›› Sealant spray (optional, for outdoor use)
›› Hot glue gun or strong craft adhesive (optional if attaching cap to base)
›› Newspaper or drop cloth for easy cleanup
Instructions:
›› Prep Your Area
Lay down newspaper or a drop cloth to protect surfaces. This is a fun (and messy!) project, so wear play clothes and get ready to let creativity shine.
›› Paint the Mushroom Stem (Pot)
Flip the terracotta pot upside down so the wide rim is at the bottom — this will be the mushroom’s base. Paint the entire surface white or light beige to mimic a mushroom stem. Let dry.
›› Paint the Mushroom Cap (Saucer)
Now, flip the matching saucer upside down and paint it red, pink, blue — whatever your child’s fairy-tale heart desires! Once dry, use a smaller brush or sponge to dab on white polka dots across the surface for that classic toadstool look.
›› Add a Sealant (Optional)
If your mushrooms will live outdoors, a clear acrylic spray sealant helps protect your paint job from the elements. Let dry completely before moving.
Assemble Your Mushroom
Place the painted saucer on top of the painted pot to create your mushroom shape. You can leave it unattached for easy transport or secure it with hot glue if you’d prefer it fixed.
›› Display with Pride!
Add your mushrooms to a garden bed, place them along a walkway, or let them create the perfect setting for backyard fairy adventures. Some families even use them as planters by flipping the pot right-side up and planting directly inside!
›› Bonus Idea:
Make a whole mushroom village using different sizes of pots and saucers. Let kids name each mushroom, add little doors or windows with markers or stickers, and turn the backyard into a storybook come to life.
This mushroom terracotta craft is more than just a colorful project — it’s a way to slow down, share laughs, and create summer memories that sprout joy long after the paint dries.
Share Your Comments & Feedback